I create many quilts, some from patterns, some based on patterns and some which just evolve. A quilt is - to me - a living thing and it can be a work of pure pleasure where stitches are easily worked - where fabric choices made at the start of the journey prove to be delightful together. But ..... some quilts prove more complex - designs don't "gel" as well as hoped, errors occur (yes, even experienced quilters make mistakes!), blocks (despite labelling) suddenly fall out of sequence and it's a struggle to maintain progress when all you want to do is screw it up and throw it in the bin.
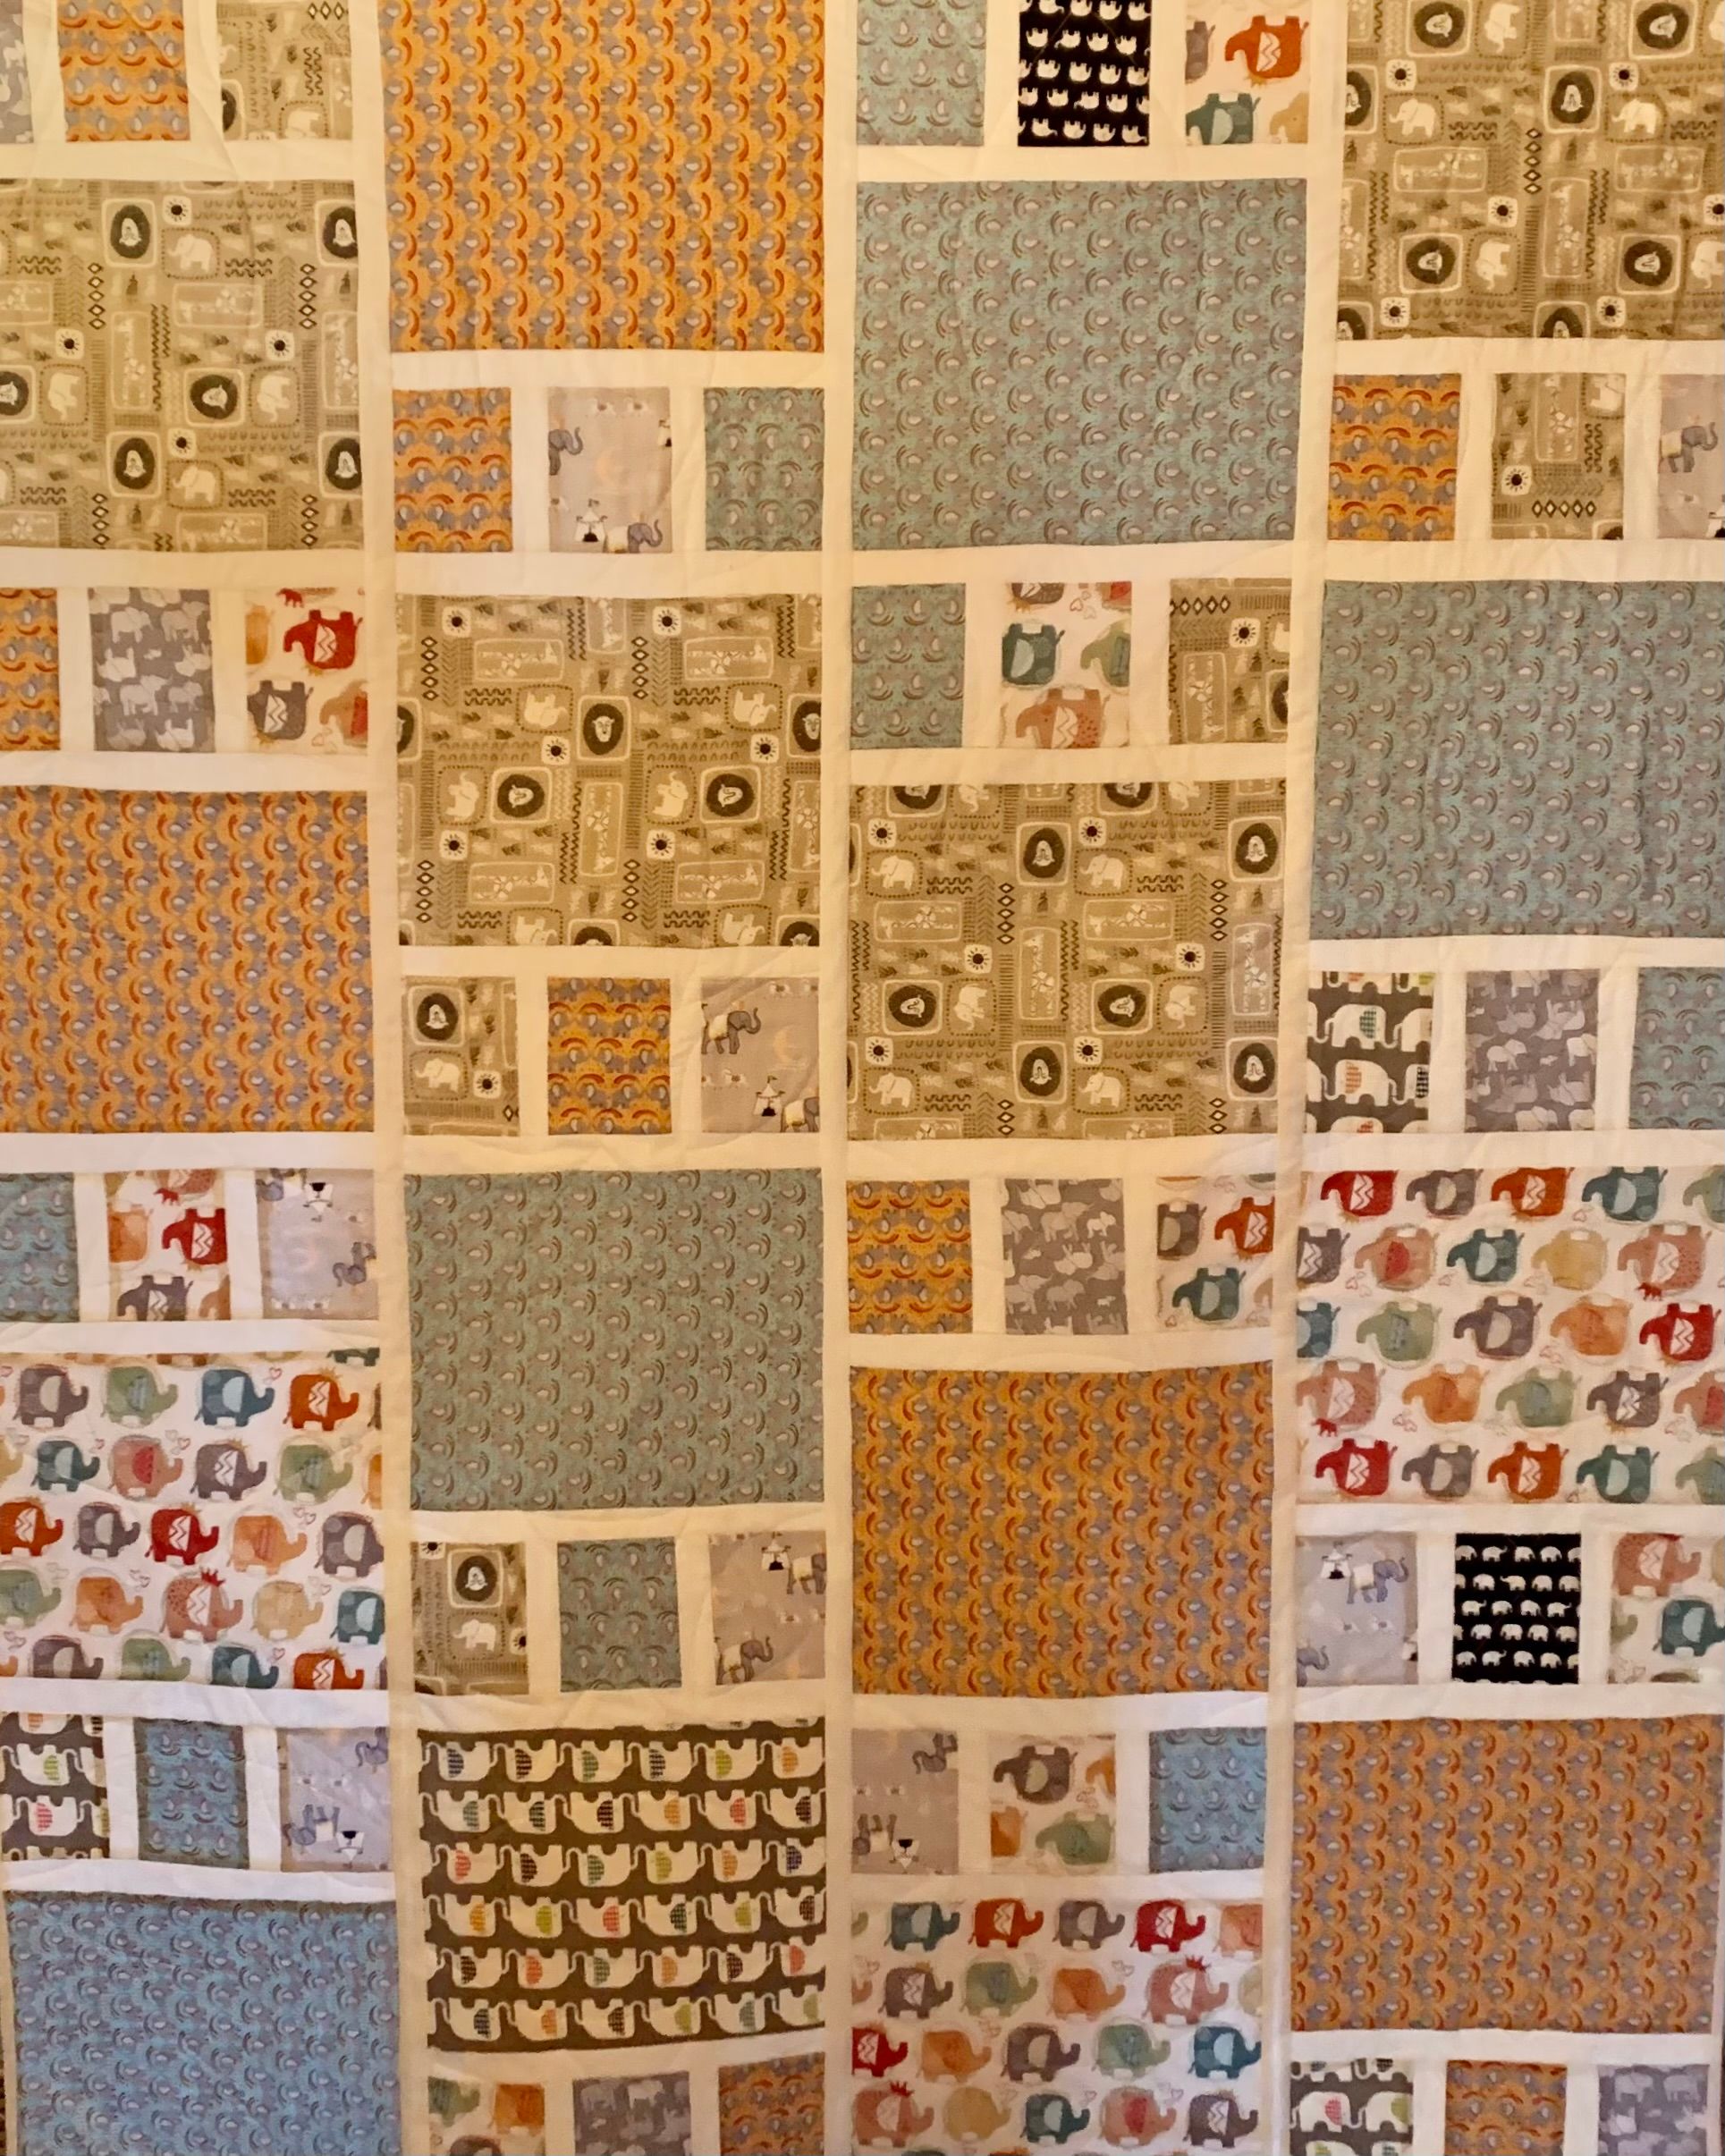
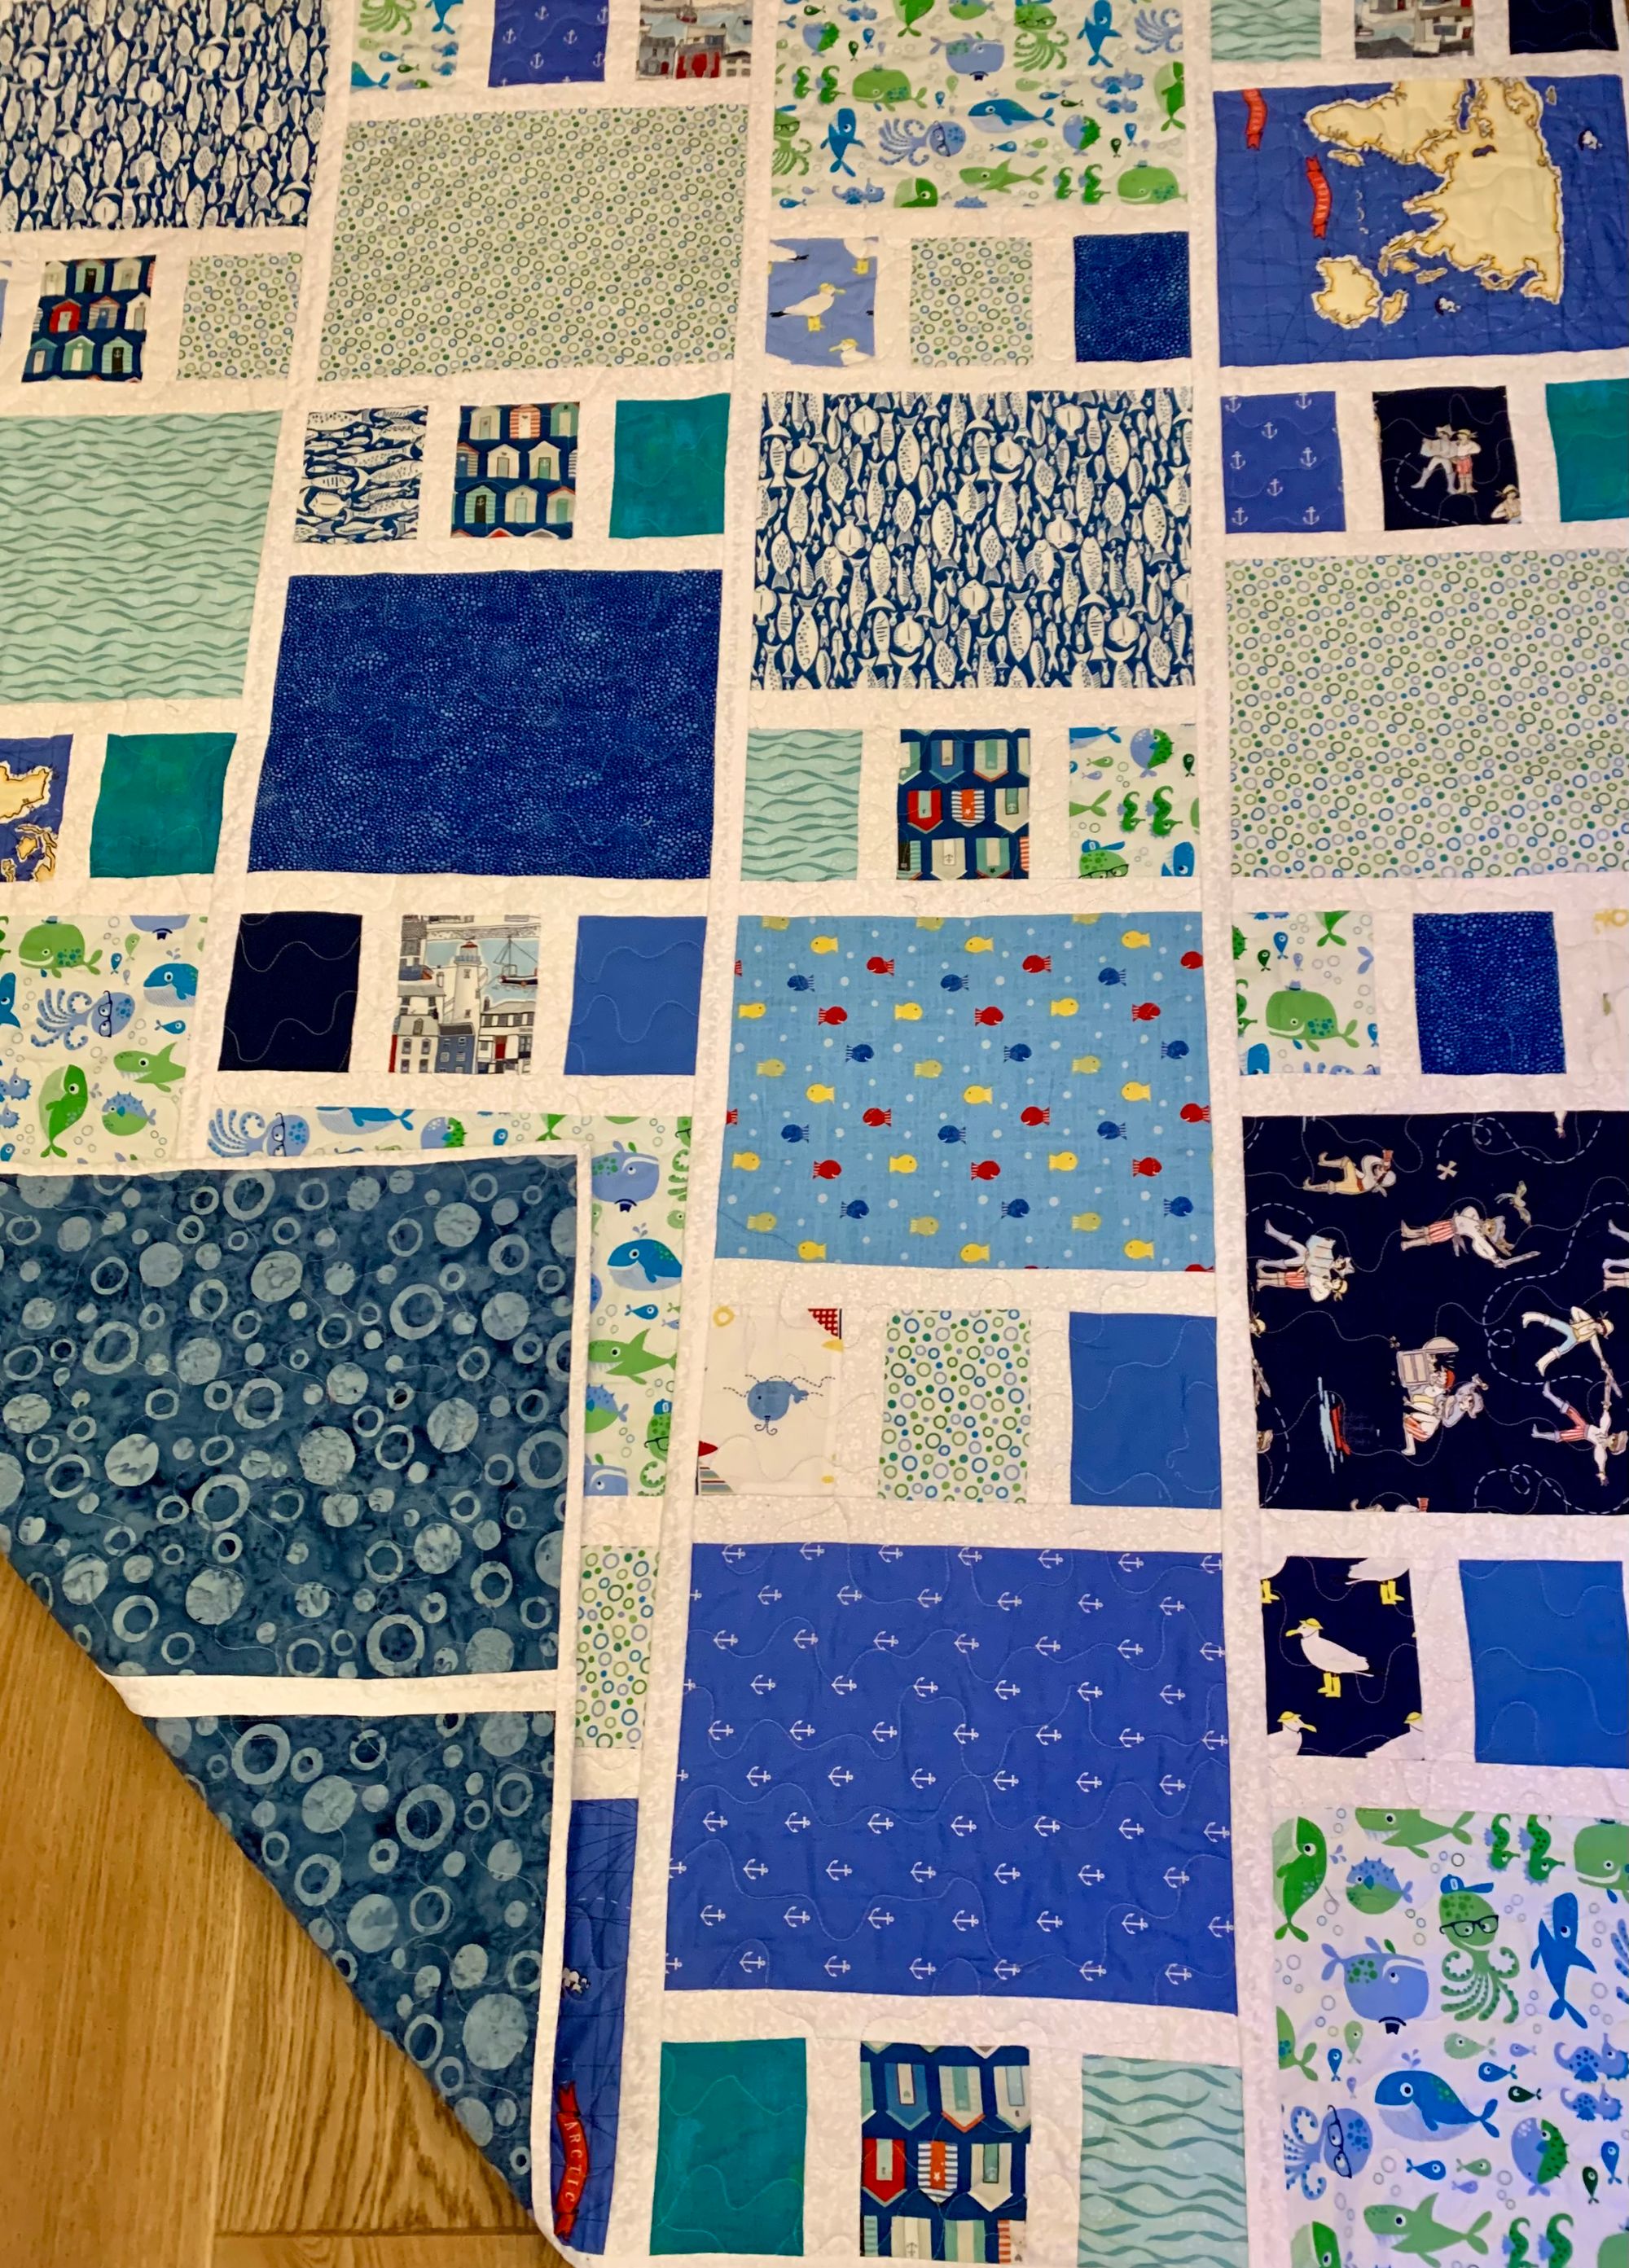
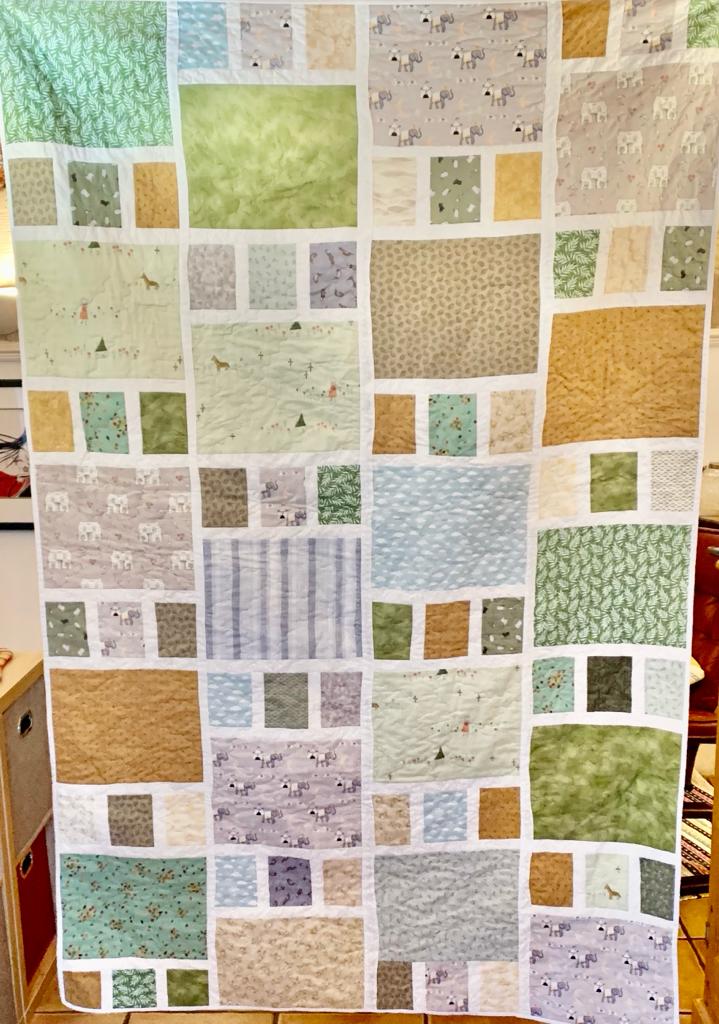
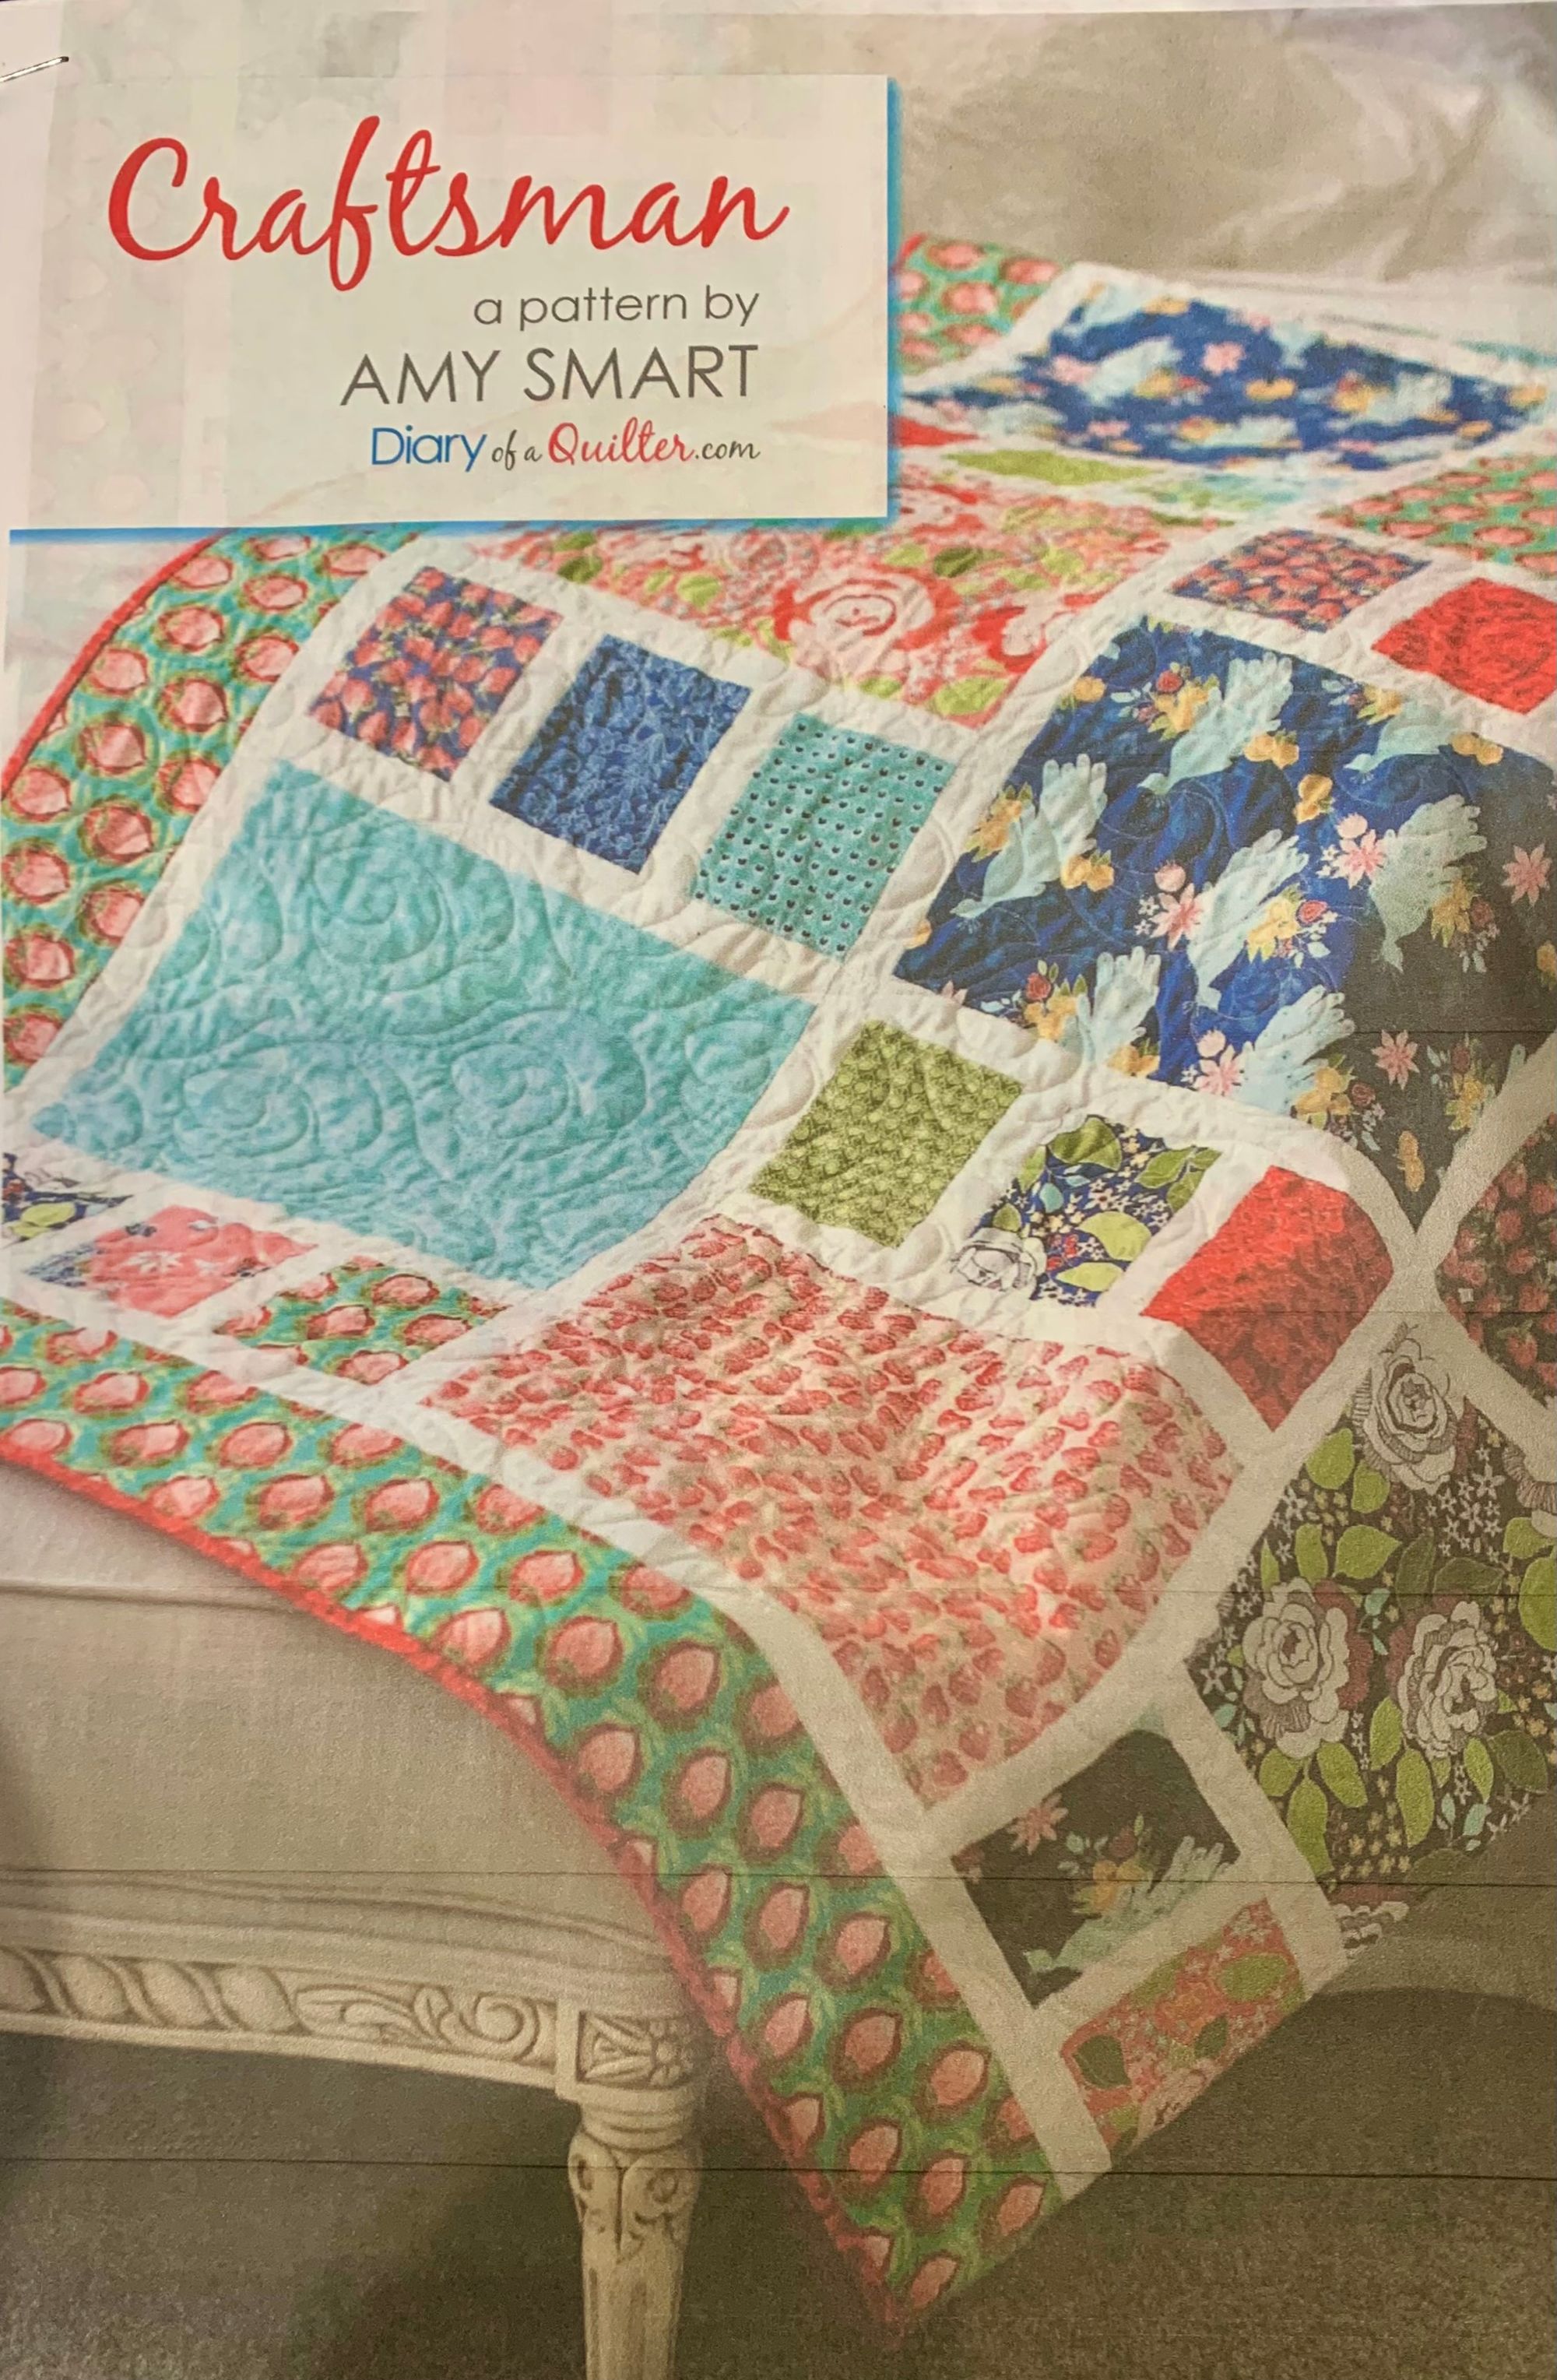
This last quilt of mine, is from a pattern I have used before (Amy Butler Craftsman Quilt) and it has always been a pleasurable journey. Different colours and styles - mainly for children and never a problem. This one.... a different story. I try to use fabric left over from other projects, but this can backfire in the most irritating ways. Here's some of the reminders I have made myself from this experience:
a) Take a breath: If you start and stop a project (I've always got several on the go at once), take a moment to lay out the fabric pieces and before you cut more, check you have enough of each fabric - on this quilt, I had two different fabrics to use as backing and somehow cut these incorrectly which meant a lot of reworking!
b) Tension is important: If you work on more than one machine (I work on two machines depending where I am) - always recheck the tension before you start. One of my machines travels in the car with me and it doesn't like it! If your tensions are not the same, you may get issues with the size of your blocks.
c) Bobbins: Make sure you have enough bobbins loaded with the correct thread before you start. Something I usually do, it saves so much time. On this occasion I forgot which required phone calls and online shopping to match the thread and a hiatus in the completion of the quilt.
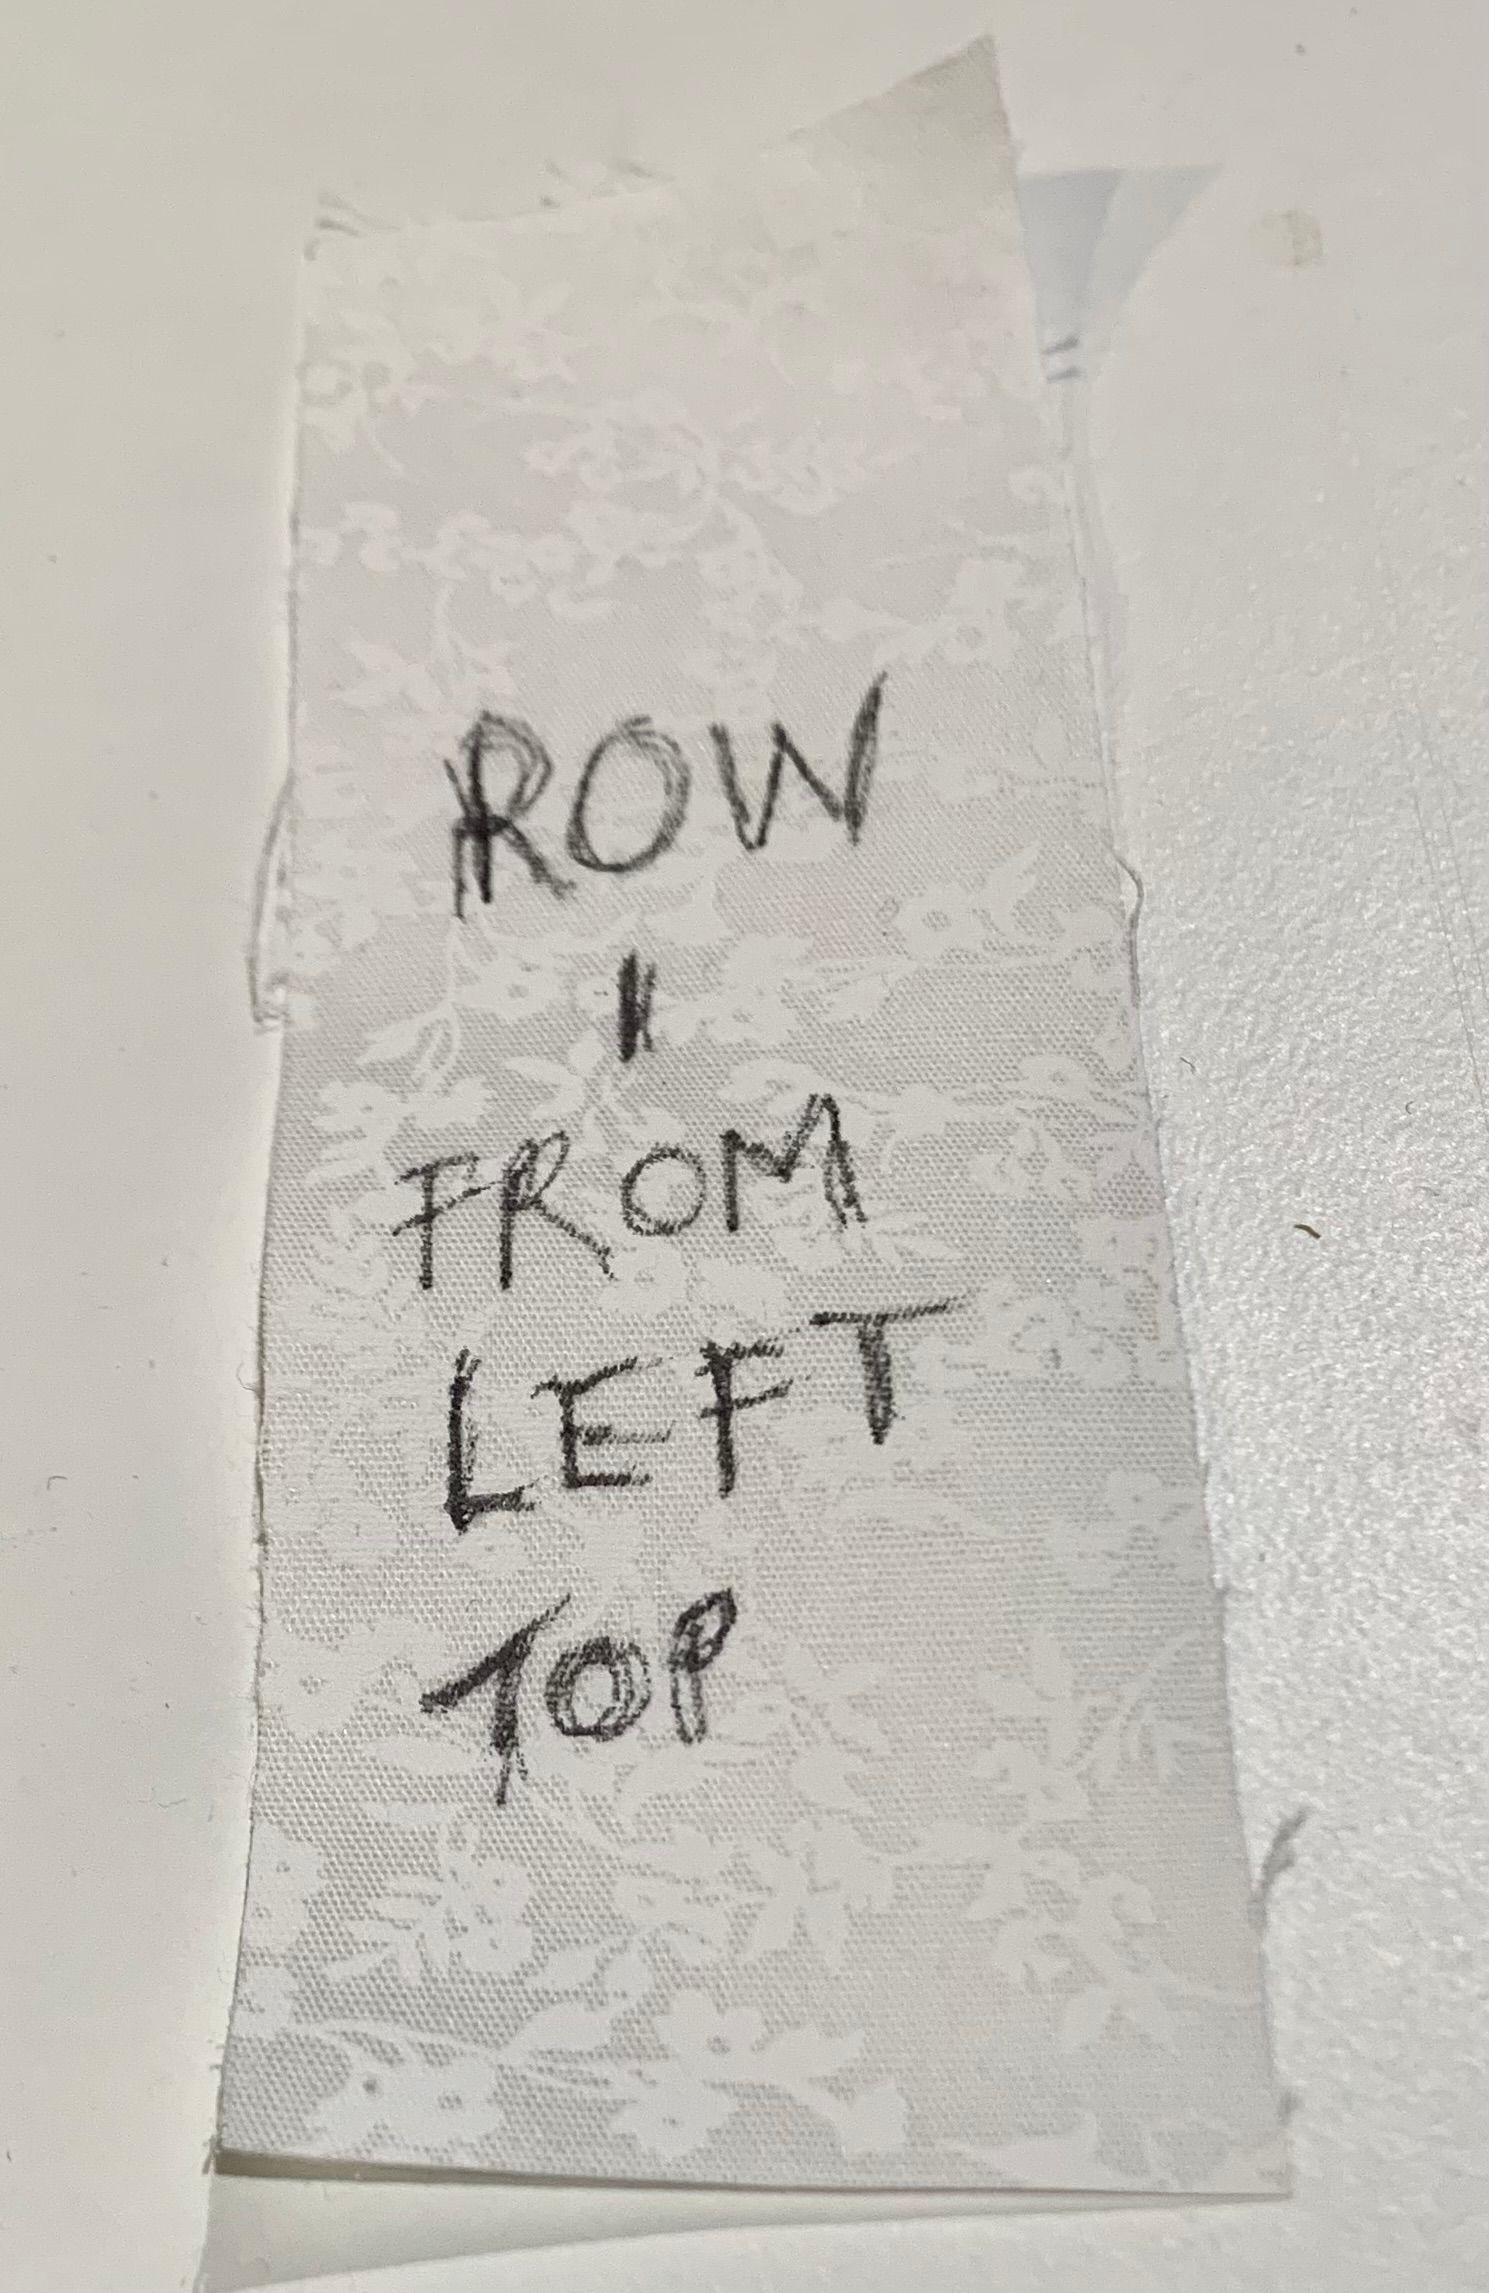
d) Label all row of the quilt: (this one was a QAYG - (quilt as you go technique)) - again I do this using post-it notes and pins or small strips of waste fabric on which you write the position of the row with a Frixion (an air erasable) pen. I had done this, but in working the free motion quilting a couple of these had fallen off and it caused me no end of problems getting the rows back in order.
e) Keep a visual record: Once you are happy with the order of blocks or rows for your quilt, take a photo with your phone or digital camera, if you have one. This gives you a visual record (see (d) above), but it also gives you the opportunity to play with the blocks to see what changing the order of blocks produces.
Tip: change the setting of the photo from colour to black/white. This will highlight the values of the colours in the blocks and enable you to make the quilt even more dynamic by changing the layout.
Never forget to enjoy the process! (even if it's only when it's finished!)
Comments